Old Man Emu 2-inch Lift Kit Installation

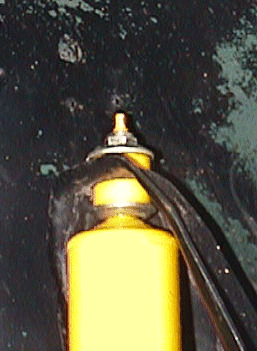
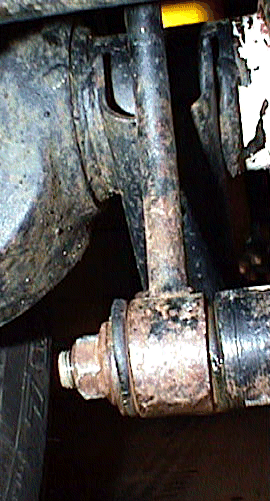
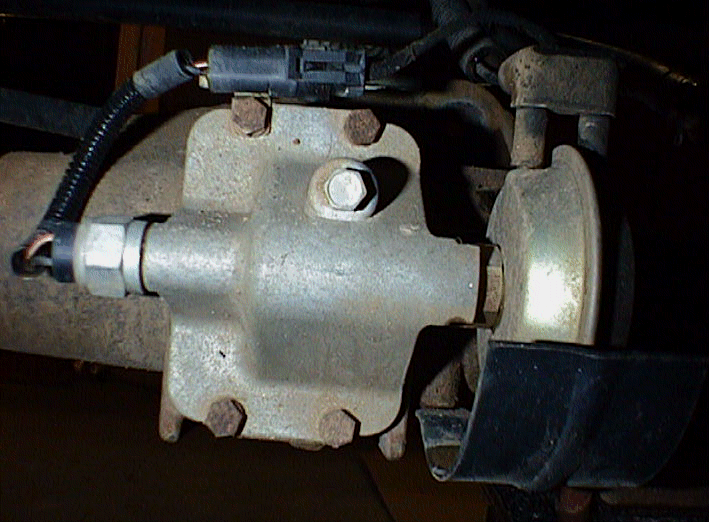
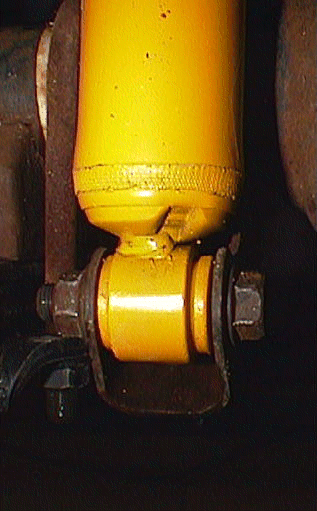
Front Spring Installation

This installation is being preformed in garage to show the easiest way to install a 2-inch lift on an '86 to '95 Jeep Wrangler.

Tools Needed:

3/4-inch socket

3/4-inch wrench

7/8-inch socket

13/16-inch wrench

17-mm wrench

2-foot breaker bar

Torque wrench with a 40 to 120 Ft-lbs. capability.

Floor jack and two jack stands

Safety Note: Always block the opposite ends tires, apply the parking brake, and put the transmission into 1st gear, when working on suspension components, or under vehicle.
  1. Remove one of the front tires, and support the front of the Jeep on a jack stand at a location on the frame that is right behind the inner spring hanger, so it does not interfere with the removal or installation of the leaf springs. CATION: It is vital that the Jeep does not "teeter" on the jack stands. It may be necessary to use a third stand and a six-inch length of 2X4 on the oil pan.
  2. Repeat for the opposite side.
  3. Remove the nut spacer and bushing from the top of the shock mount
  4. Remove the nut on the bottom shock mount, using a 3/4-inch socket and 3/4 inch wrench compress the shock and remove the bolt, then remove the shock.
  5. Repeat for the opposite side.

  6. Remove the lower control arm connections on both sides, with a 3/4 socket, and swing control arm up out of the way. Some prying is necessary.
  7. Remove the four nuts on the U-bolts on each tie plate, with a 3/4-inch socket, and remove the U-bolts.
  8. Use a floor jack and lift the front axle 1-inche and support on each side with two jack stands, if needed.
  9. Remove inner spring hanger nut and bolt, with a 13/16-inch socket and 7/8 wrench, and then let the leaf spring rest on the floor.
  10. Remove the spring from the shackle, with a 3/4-inch socket and 3/4 wrench.

  11. Remove the shackle from the shackle hanger, with a 3/4-inch socket and 3/4 wrench.
  12. Remove the bushings from the shackle hanger, and front spring eye, and then remove the bushing sleeves from the bushings. (If not worn these will be reused.)
  13. Grease four of the small OME bushings with OME bushing grease, and insert them into the shackle hanger, and front spring eye of the new OME spring, using the original bushing sleeves.
  14. Grease two of the large OME bushings with OME bushing grease, and insert them into the inner spring eye of the new OME spring, using the new bushing sleeve, supplied with the OME Leaf Spring Bushing Kit.
  15. Fit the inner spring eye into the hanger, start the bolt through from the out side with the nut on the inside of the frame. Some wiggling of the spring may be required to get the bolt all the way through, then hang the front of the spring. Tighten the nuts so that they are snug, they will be torque later.
  16. Repeat for other side.

  17. Use a floor jack and lower the front axle SLOWLY, watching the connection for the vacuum axle engagement wires and, brake lines on each side for enough slack in the lines to make the "stretch". NOTE: It was necessary for me to "re-align" the front steel brake tube. Extended steel braided brake lines were added, and the tubes were returned to stock position.
  18. Line up the pin on the leaf spring to the hole in the front axle pillow.
  19. Reinstall the four nuts on the U-bolts on each tie plate, and torque to 90 Ft-lbs.
  20. Repeat for other side.
  21. Reinstall the lower control arm connections on both sides, with a 3/4 socket, and make sure both control arms line up with the studs before connecting. Torque the control arm nut to 45 Ft-lbs.
  22. Install the OME Nitro Charger shock by connecting the top connector first, with the bottom washer and bottom half of the bushing, then the top half of the bushing and top washer. Tighten the nut while hold the studs with a 1/4-inch open end wrench. Torque the nut to 45 Ft-lbs.

  23. Connect the bottom of the shock to the shock hanger, with the original nut and bolt, and torque to 45 Ft-lbs.
  24. Repeat for the other side.
  25. Using a floor jack raise one side of the front end at the tie plate, install the wheel and tighten the lug nuts. Remove the jack stand and lower the front end. Torque the lug nuts to 90 Ft-lbs.
  26. Repeat for the other side
  27. Torque the shackle to spring bolt to 95 Ft-lbs.
  28. Torque the shackle to shackle hanger bolt to 95 Ft-lbs.
  29. Torque the inner spring bolt to 90 Ft-lbs.
There you have it! The front is complete.


Back to Old Man Emu Install Contents Page

Now for that legal stuff.

While every attempt is made to ensure that the information in these procedures is correct, no liability can be accepted by the authors or publishers for damage, loss or injury caused by any errors in the information given. All procedures and images included therein are property of John Lhamon,

Do not copy anything without prior consent from John Lhamon,
or the respective copyright owner.


This page accessedtimes!